 ARCORA ROBINETS
What Is the Right Replacement Stem for an Outdoor Faucet, and How Do You Install It Yourself?
Vues:0 ClassificationRepair
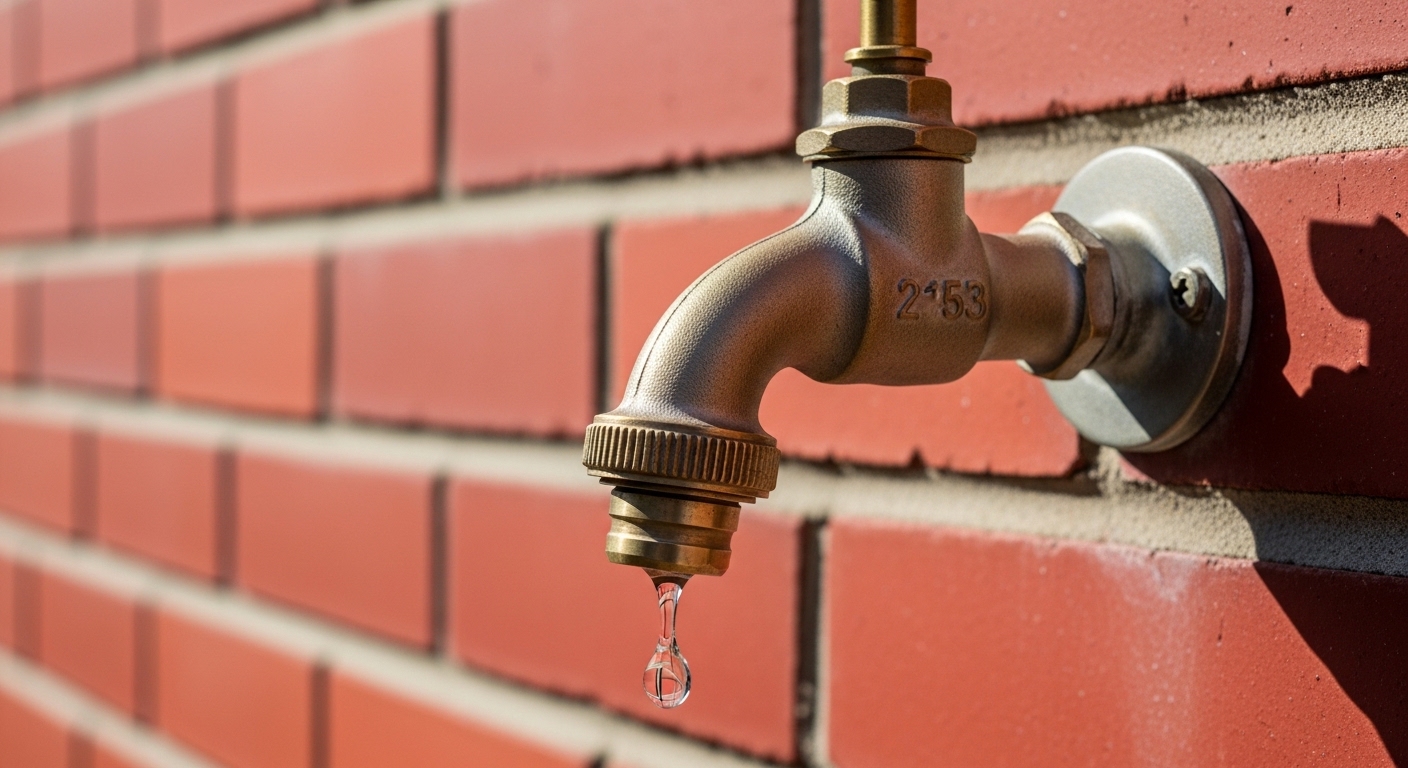
If your outdoor spigot keeps dripping no matter how hard you crank the handle, the fix you’re looking for is almost always a replacement stem for outdoor faucet repair — not a new faucet, not a plumber’s visit. The stem (also called the valve stem, spindle, or bonnet stem) is the threaded brass shaft that pushes a rubber washer against the seat to stop the water. Over years of freeze-thaw cycles and hard-water buildup, that stem’s washer wears out, its threads gum up, or the packing around it fails — and you get the classic outdoor drip. Below, I’ll walk you through exactly how to identify the right stem, remove the old one, and get it swapped without flooding your foundation or stripping anything.
What exactly is the stem on an outdoor faucet, and why does it fail?
The stem is the moving valve inside your outdoor faucet — turn the handle and the stem screws down until its rubber washer seals against the brass seat, cutting off the water. It fails because that little washer and the packing around the stem are the two softest, most sacrificial parts in the whole valve.
On a standard hose bibb (the short outdoor faucet you see on most older homes), the stem is a few inches long. On a frost-free sillcock (the longer style that shuts water off deep inside your heated wall to prevent freezing), the stem can be 6, 8, 10, or 12 inches long, and the washer sits way at the back end. Either way, the failure points are the same:
- Worn washer: The rubber flattens or cracks, so it can’t seal — this is the #1 cause of a dripping outdoor faucet.
- Bad packing: The graphite or fiber packing (or an O-ring) that seals around the stem shaft dries out, so water sprays out around the handle when the faucet is on.
- Corroded or bent stem: Freeze damage or a whacked handle can bend a frost-free stem, so it never seats fully.
- Stripped seat threads: Sometimes the brass seat the washer presses against is pitted — in that case you reseat or replace the seat too.
The good news: replacing the whole stem assembly gives you a fresh washer, fresh packing, and clean threads all at once. That’s why swapping the stem — rather than just the washer — is the more durable fix for a faucet that’s been dripping for a while.
How do I know which replacement stem for my outdoor faucet to buy?
The safest way to buy the right stem is to remove your old one first and match it exactly, then bring it to the store or measure it against a listing. Outdoor faucet stems are not universal — brand, thread count, and length all vary — so « close enough » usually means a leak.
Here’s what to measure and match:
- Overall length from the tip of the washer end to the base of the handle broaching. Frost-free stems especially come in fixed lengths tied to your wall thickness.
- Thread type and count on the bonnet threads — the part that screws into the faucet body. Miss this and the stem won’t seat.
- Broaching (the splined end the handle slips onto) — it must match your handle so you can reuse it.
- Brand — Mansfield, Woodford, Prier, Arrowhead, and Nibco all use their own stem geometries. Look for a maker’s mark or model number stamped on the faucet body or handle.
If you can’t read a brand anywhere, take a clear photo of the removed stem next to a tape measure and match it against a hardware store’s stem-identification board or a plumbing-parts counter. Most stores keep a wall of common Mansfield and Woodford frost-free stems because those are on so many American homes.
Which type of outdoor faucet do I actually have — hose bibb or frost-free sillcock?
Look at the length of the faucet body and where it shuts off: a short faucet that shuts off right at the handle is a standard hose bibb, while a long-bodied faucet that shuts off deep inside your wall is a frost-free sillcock. Knowing which you have decides how long a stem you need and how you pull it.
| Feature | Standard hose bibb | Frost-free sillcock |
|---|---|---|
| Body length | 2–3 inches (short) | 6–14 inches (long, buried in wall) |
| Where it shuts off | At the faucet, outside the wall | Deep inside the heated wall |
| Stem length | Short, 2–4 in | Long, matches wall depth |
| Freeze resistance | Low — needs shutoff + draining in winter | High — self-draining if pitched correctly |
| Typical stem cost | $5–$10 | $10–$20 |
| Common brands | Arrowhead, Nibco, generic | Mansfield, Woodford, Prier |
One quick tip: if you turn off the handle and water keeps running for a second or two before stopping, that’s a frost-free — the water is draining out of the long body. If it stops instantly, you likely have a standard hose bibb. This matters because ordering a short hose-bibb stem for a frost-free faucet is one of the most common mistakes people make, and vice versa.
How do I replace the stem on an outdoor faucet step by step?
Replacing an outdoor faucet stem takes about 20–30 minutes: shut off the water, remove the handle and packing nut, unscrew and pull the old stem, install a matching new stem, and test. Here’s the full walkthrough.
- Shut off the water supply. Find the interior shutoff valve that feeds this outdoor faucet (often in a basement, crawlspace, or utility closet on the same wall). Close it, then open the outdoor faucet to drain any pressure and standing water.
- Remove the handle. Unscrew the handle screw on top, then pull the handle straight off. If it’s stuck from corrosion, wiggle gently — don’t pry hard on a frost-free stem or you can bend it.
- Loosen the packing nut / bonnet nut. Use an adjustable or box wrench to turn the large hex nut counterclockwise. Hold the faucet body steady with a second wrench so you don’t twist it in the wall.
- Unscrew and pull the stem. Once the packing nut is loose, back the whole stem assembly out by turning it counterclockwise. On a frost-free, pull the long stem straight out of the body — it should slide free.
- Inspect the seat. Shine a light into the faucet body. If the brass seat where the washer contacts looks pitted or rough, dress it with a seat-grinding tool or replace it. A perfect new stem still drips against a chewed-up seat.
- Install the new stem. Wrap the bonnet threads with a couple wraps of plumber’s (PTFE) tape, thread the new stem in by hand first to avoid cross-threading, then snug the packing nut. Don’t gorilla it — hand-tight plus a quarter turn is usually right.
- Reattach the handle and test. Turn the faucet to the off position, restore the interior water supply slowly, and check for drips at the spout and around the packing nut. Tighten the packing nut slightly more if you see weeping around the shaft.
If, after all this, water still weeps around the handle when the faucet is on, the packing needs a touch more compression — snug the packing nut another eighth of a turn. If it drips from the spout when off, your washer or seat is the culprit. This same « shut off, disassemble, match the part, reassemble with fresh tape » logic is exactly what you’d use on an indoor repair — the approach mirrors our guide on how hard a faucet handle replacement shower repair really is, just outdoors.
Should I replace just the washer, the whole stem, or the entire faucet?
Replace just the washer if the faucet is newer and only recently started dripping; replace the whole stem if the faucet is older, the drip has been going a while, or the packing also leaks; replace the entire faucet only if the body is cracked, the threads are stripped, or it froze and split.
| Situation | Best fix | Rough cost |
|---|---|---|
| Recent light drip, faucet under 5 years old | New washer only | $1–$3 |
| Persistent drip + leak around handle | Full stem replacement | $5–$20 |
| Bent frost-free stem after freeze | Full stem replacement | $10–$20 |
| Cracked/split body, water inside wall | Replace entire sillcock | $25–$60 + labor |
| Pitted seat, otherwise fine | Reseat or replace seat + new stem | $8–$25 |
My honest recommendation for most people: if the faucet is more than a few years old and it’s dripping badly enough that you’re reading this, go straight to a full stem replacement. The price difference over a lone washer is a few dollars, and you get fresh packing and clean threads in the bargain — so you’re not back out there with a wrench next season. If you’re the kind of DIYer who’d rather not repeat the job, the whole-stem swap is the better value. And if water is actually getting inside your wall, stop and replace the faucet, because a split frost-free body behind the siding can do real damage.
Why does my outdoor faucet still leak after I replaced the stem?
If your outdoor faucet still leaks after a new stem, the usual culprits are a damaged seat, a mismatched stem, under-tightened packing, or a leak that was never at the stem at all. Work through them in order:
- Drips from the spout when off: The new washer isn’t sealing — most often because the brass seat is pitted. Grind or replace the seat.
- Weeps around the handle when on: Packing nut needs a slight tightening, or the packing washer/O-ring on the new stem is the wrong size.
- Leaks from the wall or the base of the faucet: That’s not the stem — that’s the faucet body, a cracked pipe connection, or a split from freezing. This is the same « the leak isn’t where you think it is » trap we cover in why your bathroom faucet is leaking and how to stop it.
- Wrong stem entirely: If the stem threaded in but feels loose or bottoms out early, the length or thread count is off. Re-match it.
A frequent one: people reuse the old, hardened packing instead of the fresh packing that came with the new stem. Always use the new packing washers and O-rings. Also make sure you actually seated the stem fully — on frost-frees, the stem has to travel the full length of the body to reach the seat, and it’s easy to think it’s tight when it isn’t. Before you blame the part, double-check the removal-and-refit basics; the same careful teardown discipline in our guide to removing old taps without wrecking the plumbing applies directly to outdoor valves.
What tools and materials do I need for this repair?
You need almost nothing specialized — an adjustable wrench, a screwdriver, plumber’s tape, and the matching replacement stem cover about 90% of outdoor faucet stem jobs. A fuller kit:
- Adjustable wrench (and a second wrench to hold the body steady)
- Flathead and Phillips screwdrivers
- PTFE (plumber’s) tape
- Matching replacement stem — verified by measurement or brand
- Assorted washers and a seat-dressing tool (in case the seat is pitted)
- Penetrating oil for a corroded packing nut
- A rag and a small bucket for residual water
Buy the stem last, after you’ve pulled the old one, so you can match it. If you want to skip a second trip, snap a photo of any brand stamp on the faucet before you start and cross-reference it while you’re at the parts counter.
Author note & why you can trust this guide
Written by the arcorarobinet fixtures team. arcorarobinet designs and sells faucets, sillcocks, and repair parts, and our technicians handle warranty and repair questions on outdoor and indoor valves every week. The steps above reflect hands-on repair of standard hose bibbs and frost-free sillcocks across common brands. As a manufacturer, we build to recognized plumbing standards — outdoor sillcocks and hose connections should carry backflow/anti-siphon protection consistent with ASME A112.18.1/CSA B125.1 and, where a vacuum breaker is integrated, ASME A112.1.1 — and our replacement stems are pressure-tested before shipping and backed by our parts warranty. When in doubt about a part match, contact us with your faucet’s brand and a photo of the removed stem and we’ll confirm the correct replacement before you buy. For related indoor repairs, our step-by-step walkthrough on fixing a leaking Moen shower faucet uses the same cartridge-and-seat principles.
FAQ
Can I replace an outdoor faucet stem without turning off the main water?
You can if there’s a dedicated interior shutoff for that outdoor line — close just that valve and drain the faucet. If no dedicated shutoff exists, you’ll need to close the main. Never pull the stem under pressure; you’ll get soaked and can’t seat the new part.
Are outdoor faucet stems universal or interchangeable between brands?
No. Stems vary by brand, length, thread count, and broaching. A Mansfield stem won’t fit a Woodford body, and a short hose-bibb stem won’t reach the seat in a frost-free sillcock. Always match the removed stem or the faucet’s brand and model.
How much does it cost to replace the stem on an outdoor faucet?
The part itself runs about $5–$20 depending on whether it’s a short hose-bibb stem or a long frost-free stem. Doing it yourself, that’s your whole cost. A plumber typically charges $75–$150 in labor for the same job, so DIY saves the most on this repair.
My frost-free faucet leaks only when the hose is connected — is that the stem?
Probably not the stem — that’s usually the anti-siphon vacuum breaker at the top of the faucet, which can leak when back-pressure builds with a hose attached. Replace the vacuum breaker cap or its internal parts before assuming the stem is at fault.
How long should a new outdoor faucet stem last?
A quality replacement stem with fresh washer and packing typically lasts 8–15 years, depending on water hardness and how often the faucet is used. Hard water and constant use wear the washer faster; winterizing the faucet each fall extends its life considerably.



您好!Veuillez vous connecter