 ARCORA ROBINETS
Why Is My Kitchen Faucet Sprayer Leaking, and How Do I Fix a Leaking Kitchen Faucet Sprayer Myself?
Vues:1 ClassificationRepair
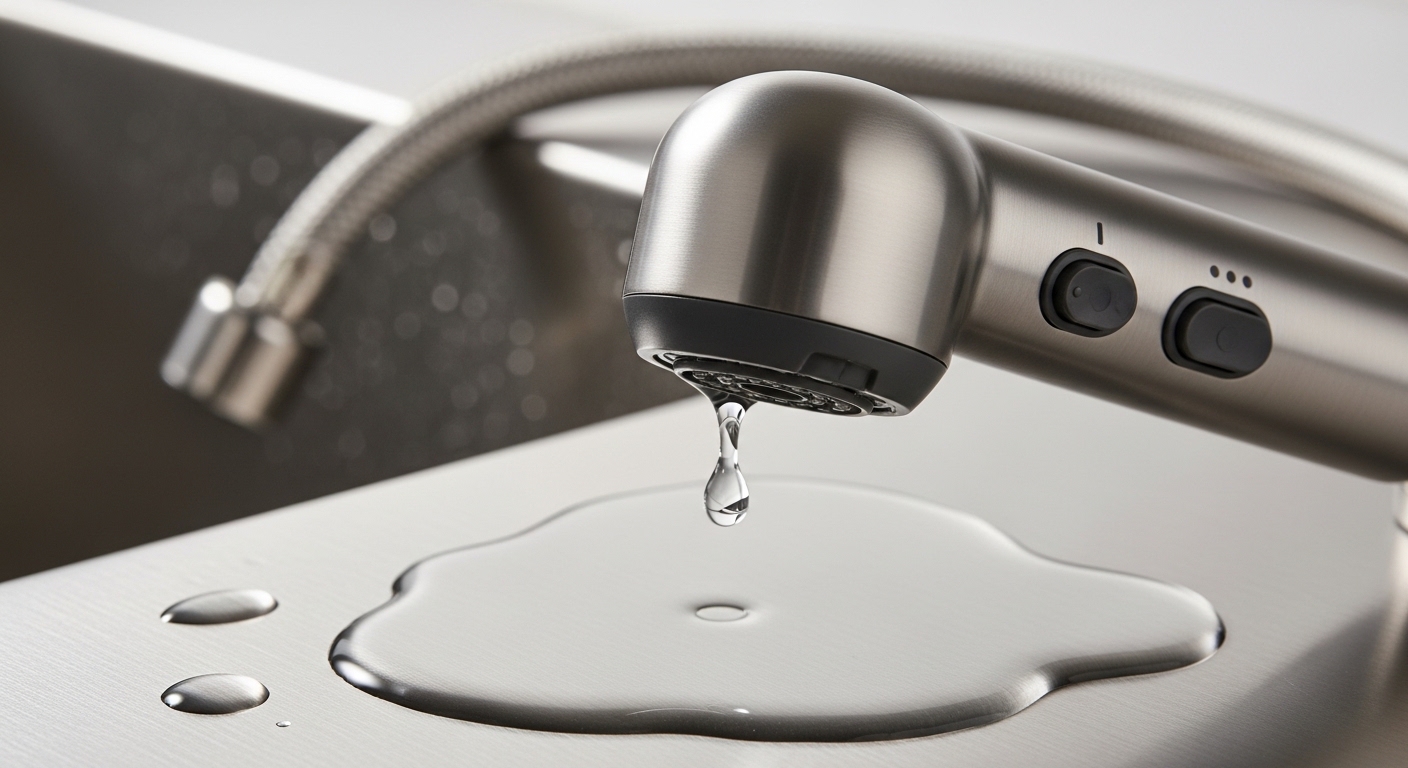
If you’ve got a leaking kitchen faucet sprayer, you’re dealing with one of the most common — and most fixable — faucet problems there is. Water might be dribbling from the pull-down spray head, pooling in the cabinet under the sink, or spraying weakly out of the side even when the faucet is « off. » The good news: you almost never need to replace the whole faucet. The leak is coming from a specific part, and once you know which one, the repair is genuinely straightforward. This guide walks you through diagnosing the exact source, the parts and tools you need, and a step-by-step fix — plus when it’s actually smarter to replace the sprayer or the faucet instead.
Where exactly is my kitchen faucet sprayer leaking from?
Before you buy any parts, pin down the leak location — it tells you the fix. There are only four places a sprayer leaks: the spray head itself, the hose, the connection points, or the diverter valve inside the faucet body. Run the faucet and watch closely for 30 seconds, then feel each area with a dry paper towel.
Here’s how to read what you find:
- Water dripping from the spray head nozzle after shut-off — this is usually a worn spray head gasket or a failing diverter, not a « broken » faucet. A few drips for 1–2 seconds after shut-off is normal (that’s water draining from the hose); a steady drip that keeps going is not.
- Water leaking where the spray head screws onto the hose — the small rubber gasket or O-ring at that joint has flattened or torn.
- Water pooling in the cabinet under the sink — the pull-down hose is cracked, kinked, or its quick-connect fitting has loosened. This is the most common source of hidden under-sink leaks.
- Weak spray plus water dribbling from the main spout while spraying — the diverter valve inside the faucet body is stuck or clogged with mineral scale.
On older kitchen faucets with a separate side sprayer (the standalone sprayer sitting in its own hole beside the faucet), add one more suspect: the sprayer head’s internal spring or the hose connection at the faucet’s underside « diverter tee. » We’ll cover both pull-down and side sprayers below, because the fixes differ.
Why is my sprayer dripping even when the faucet is turned off?
If your sprayer drips when the faucet is off, the culprit is almost always a worn gasket in the spray head or a diverter that isn’t fully closing — not your faucet cartridge. These are two different, cheap parts, and you can tell them apart by where the water comes from.
A spray head gasket is the small rubber ring inside the pull-down head where it connects to the hose. Over 2–5 years, hard water minerals and constant pressure flatten it, so water seeps past even when the valve is shut. Fix: unscrew the spray head from the hose (usually a quarter-turn collar or a small hex/Allen screw), pull out the old gasket with a pick, drop in the matching replacement, and reconnect. Cost: a $6–12 gasket kit.
The diverter valve is the part that redirects water between the main spout and the sprayer. When it clogs with scale or its internal seals wear, water leaks past it — you’ll see the spray head drip and often weak pressure. On a pull-down faucet the diverter usually sits inside the faucet body under the spout; on a faucet with a side sprayer it’s a small brass « diverter tee » screwed into the faucet’s underside. Fix: shut off the water, remove the diverter, soak it in white vinegar for an hour to dissolve scale, and replace it ($8–15) if the rubber seals are hardened or cracked. If your sink also suffers from mineral buildup that’s choking flow, it’s worth understanding what kitchen faucet aerator flow rate you actually need, since scale that clogs a diverter is usually clogging the aerator too.
How do I fix a leaking pull-down kitchen faucet sprayer step by step?
To fix a leaking pull-down sprayer, shut off the water, replace the spray head gasket or hose depending on the leak source, and reconnect — most repairs take 20–40 minutes. Here’s the full sequence for the two most common fixes.
- Shut off the water. Turn both angle-stop valves under the sink clockwise until snug, then open the faucet to release pressure and confirm the water is off. Lay a towel in the cabinet.
- Identify and access the leak. If the leak is at the spray head, work at the counter. If it’s the hose or fitting, get under the sink with a flashlight.
- Replace the spray head gasket (head leaks). Unscrew the spray head from the hose weight/coupling. Pop out the old flat gasket, clean the seat, seat the new gasket, and hand-tighten the head back on. Don’t overtighten — you’ll crush the new gasket.
- Replace the pull-down hose (hose leaks). Disconnect the hose from the spray head at the top and from the faucet’s supply coupling under the sink (most are quick-connect — squeeze the clip and pull; some are threaded, needing a basin or adjustable wrench). Detach the hose weight, feed the new hose through, reattach the weight at the manufacturer’s specified height (usually 6–8 inches above the cabinet floor so the head retracts fully), and reconnect both ends.
- Clean or replace the diverter (drip + weak flow). Remove the spout or faucet body cap per your model, pull the diverter, soak in vinegar, replace if seals are hard.
- Turn the water back on slowly and check every connection with a dry paper towel while the faucet runs and again with it off. Re-snug any joint that shows moisture.
One tip that saves a lot of frustration: take a clear photo of your faucet’s underside before you disconnect anything, and bring your faucet’s brand and model number when you buy parts. A « universal » gasket that’s 1mm off will still weep. If you’re comfortable with this level of work, you’ll also handle related jobs easily — the same shut-off-and-swap logic applies when you tackle a faucet handle replacement on a bathroom sink.
What parts and tools do I need for a leaking sprayer repair?
For most sprayer leaks you need three cheap things: a matching gasket/O-ring kit, possibly a replacement hose, and plumber’s silicone grease — plus a couple of basic hand tools. You rarely need to solder, glue, or open the wall. Here’s a quick reference for matching the fix to the part.
| Leak Symptom | Most Likely Cause | Part Needed | Typical Cost | Time |
|---|---|---|---|---|
| Drips from spray head after shut-off | Worn spray head gasket | Gasket / O-ring kit | $6–12 | 15 min |
| Water pooling under the sink | Cracked or loose pull-down hose | Replacement braided hose | $12–25 | 30–40 min |
| Weak spray + spout dribbles while spraying | Clogged or worn diverter valve | Diverter valve / seals | $8–15 | 25 min |
| Leak where head meets hose | Flattened connection O-ring | O-ring + plumber’s grease | $5–10 | 10 min |
| Side sprayer sprays weakly / leaks at base | Failing diverter tee or sprayer spring | Diverter tee / sprayer head | $10–20 | 30 min |
Tools: an adjustable wrench, a basin wrench (for tight under-sink nuts), a set of Allen/hex keys (many spray heads use a tiny set screw), a pick or small flathead for prying gaskets, white vinegar for descaling, and food-safe plumber’s silicone grease. Never use petroleum jelly on faucet rubber — it degrades the seals over time. A roll of PTFE (Teflon) tape helps only on threaded metal-to-metal joints, not on gasketed connections.
Should I repair or replace a leaking kitchen faucet sprayer?
Repair the sprayer if the faucet body is solid and only the gasket, hose, or diverter has failed — which covers the large majority of cases. Replace the whole faucet only if the body is corroded, the finish is flaking, the faucet is 12–15+ years old, or you’ve already replaced the hose and diverter and it still leaks (a sign the internal valve seat is worn out).
Here’s the honest math. A gasket-and-hose repair costs $10–30 and an afternoon. A mid-range replacement pull-down kitchen faucet runs $120–350 plus installation. So repair almost always wins on cost. But there are three moments where replacing is the smarter call:
- Parts are discontinued. If your faucet is old and the manufacturer no longer stocks the exact hose or diverter, chasing « universal » parts often turns into repeated leaks. Replacing is cleaner.
- The finish is failing. Pitting, flaking chrome, or green corrosion means water is already getting into the base. A new gasket won’t stop a body that’s leaking through corrosion.
- You want an upgrade anyway. If you’ve been eyeing a touchless or single-handle model, a leak is a reasonable trigger to switch. If you’re weighing a design change, it’s worth reading whether one or two handle faucets suit your sink better before you buy, and skimming the current kitchen tap trends worth caring about so your replacement doesn’t feel dated in a year.
If your faucet is a specific brand with a known cartridge system, brand-specific repair often makes replacement unnecessary — for example, many Moen and Delta owners can rebuild rather than replace. Our companion guide on fixing a Moen faucet that drips, is loose, or won’t turn off walks through the cartridge-level detail that also applies to their kitchen sprayer models.
How do I stop my kitchen faucet sprayer from leaking again?
The single biggest cause of repeat sprayer leaks is hard water scale — so the best prevention is periodic descaling and using genuine, correctly-sized replacement parts. Minerals build up inside the diverter and on gasket seats, and once a gasket is scored by grit, it leaks again within months even if it’s brand new.
A simple maintenance routine keeps a repaired sprayer sealed for years:
- Descale every 3–6 months if you have hard water. Unscrew the spray head, soak it and the aerator in white vinegar for 1 hour, and scrub the diverter area.
- Grease new O-rings and gaskets with a thin film of plumber’s silicone on install — this helps them seat evenly and resist flattening.
- Let the hose retract naturally. Don’t yank or over-extend the pull-down hose; that’s what cracks hoses and loosens the weight over time.
- Check the under-sink connections twice a year with a dry paper towel. Catching a weeping fitting early prevents cabinet water damage.
- Match parts to your exact model. A gasket that’s close-but-not-exact is the number-one reason a « fixed » faucet starts dripping again.
FAQ
Why does my kitchen sprayer drip a few seconds after I turn it off?
A brief drip for 1–2 seconds after shut-off is completely normal — it’s just residual water draining out of the hose and spray head by gravity. It only signals a problem if the dripping continues steadily, which points to a worn spray head gasket or a diverter valve that isn’t fully sealing.
Can I just replace the sprayer head instead of the whole faucet?
Yes, on most pull-down faucets the spray head unscrews from the hose and can be replaced on its own for $15–40, as long as you buy the head that matches your faucet’s brand and connection type. If your leak is only at the head or its gasket, a new head (or just a new gasket) fixes it without touching the faucet body.
Why is my side sprayer leaking at the base while the faucet runs?
A side sprayer that leaks or weeps at its base while the main faucet runs usually has a failing diverter tee — the small brass fitting under the faucet that redirects water to the sprayer. Water pressure escapes through the sprayer instead of staying in the spout. Replacing the diverter tee ($10–20) and the sprayer’s internal spring solves it in about 30 minutes.
How much does it cost to fix a leaking kitchen faucet sprayer?
A DIY sprayer repair typically costs $6–25 in parts — a gasket kit, a replacement hose, or a diverter valve — plus about 20–40 minutes of your time. Hiring a plumber adds roughly $100–200 in labor, so the repair is one of the most cost-effective plumbing fixes you can do yourself.
Do I need to turn off the water to replace a sprayer gasket?
Yes — always shut off both angle-stop valves under the sink and relieve pressure by opening the faucet before you disconnect any part. Even a « quick » gasket swap on the spray head can spray you or flood the cabinet if the supply is still pressurized. It takes 30 seconds and prevents a mess.
Why does my sprayer have weak pressure and a leak at the same time?
Weak spray pressure combined with a leak almost always means a clogged or worn diverter valve. Mineral scale blocks the diverter so less water reaches the sprayer, while worn seals let water leak past. Descaling the diverter in vinegar restores pressure, and replacing its rubber seals stops the leak — often you’ll want to do both at once.
A note on expertise, testing, and warranty
Author note: This guide was written by the arcorarobinet product and service team, drawing on hands-on repair of pull-down and side-sprayer kitchen faucets across thousands of customer service cases. We install, disassemble, and pressure-test these exact components in-house, so the failure points described here — gaskets, hoses, and diverters — reflect what actually wears out, not guesswork.
About arcorarobinet: arcorarobinet designs and sells kitchen and bathroom faucets, shower systems, and fixtures engineered to standard North American sizing, so replacement parts and hoses are easy to source. Our sprayer hoses and cartridges are tested to hold their seal under repeated pressure cycling, and our kitchen faucets carry a limited warranty covering finish and function — meaning if a diverter or hose fails within the covered period, the replacement part is on us. When you match genuine, correctly-sized parts to your faucet and follow standard shut-off and descaling practices, a repaired sprayer will stay leak-free for years. If you’re unsure which part your model needs, contact our support team with your model number before you buy.



您好!Veuillez vous connecter